Two brewers, one bag of beans, and two cups that taste nothing alike. That is the honest starting point for anyone weighing a pour-over cone against a French press. Both are manual, both cost far less than an espresso machine, and both will make excellent coffee if you pay attention. The difference sits in the mechanics, and once you understand those, choosing between them stops feeling like a coin toss.
Immersion Versus Percolation
A French press is an immersion brewer. Ground coffee sits in hot water for several minutes, and the plunger separates the liquid from most of the grounds. The metal mesh holds back the coarse particles but lets oils and fine sediment through, so everything the coffee has to offer ends up in your cup.
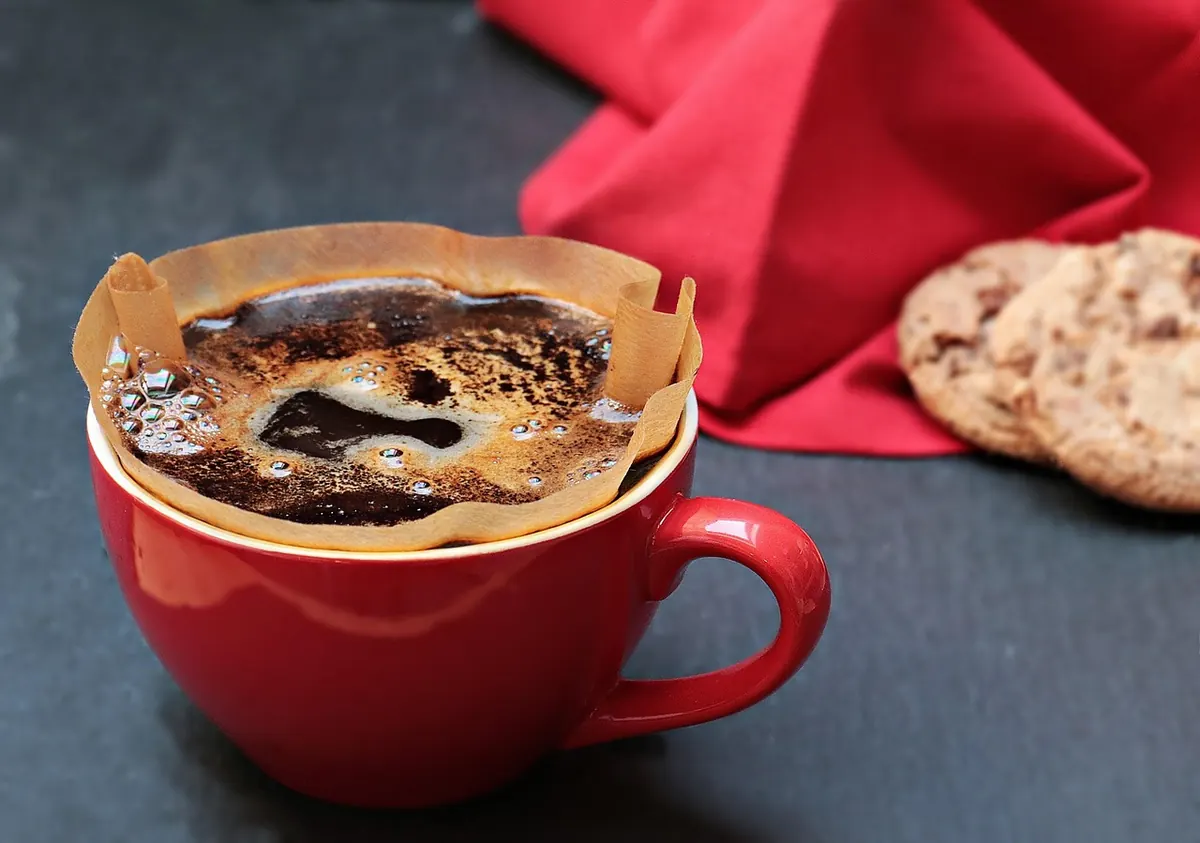
A pour-over is a percolation brewer. Water passes through a bed of coffee once, then through a paper filter, and drips into your mug or server. Fresh water keeps arriving at the top of the bed, and the paper traps oils and the finest particles.
Nearly every other difference between the two methods follows from those two sentences: body, clarity, how forgiving they are, how long cleanup takes, even whether you can walk away mid-brew.
Flavor: Clarity Versus Body
If you lined up the same coffee brewed both ways, you would not need a trained palate to spot the difference. You would notice it in the first sip.
What pour-over tends to deliver
Paper filtration produces a cleaner cup. Flavors read separately rather than all at once: a citrus note in a Kenyan coffee, a floral lift in an Ethiopian one, the tea-like finish of a well-brewed light roast. Acidity comes across as brightness rather than sharpness. The trade-off is weight. Some drinkers find pour-over thin, especially with dark roasts or when the brew is slightly under-extracted.
What French press tends to deliver
Immersion plus a metal mesh gives you texture. The cup feels rounder and heavier, with more sweetness and a longer finish. Chocolate and nut notes in medium and dark roasts come forward nicely, and the brew holds up well with a splash of milk. Because fine particles stay in suspension, the last mouthful can be muddy if you pour the whole carafe at once. That sediment is not a flaw in your technique; it is the nature of the method.
One practical note: the same grind does not suit both brewers. Pour-over wants a medium grind, roughly like table salt. French press wants coarse, closer to sea salt, because a fine grind will slip past the mesh and turn the cup gritty.
Equipment: What You Actually Need
The French press wins on simplicity. A pour-over setup is not complicated either, but it has more parts, and one of them matters more than beginners expect.
- French press: the carafe itself, a spoon for stirring, a timer, and a scale if you want consistency. That is the whole list. A burr grinder helps enormously but is not unique to this method.
- Pour-over: a dripper and matching paper filters, a server or a mug, a scale, a timer, and ideally a gooseneck kettle. The gooseneck gives you a slow, controlled stream, which is the entire skill of the method. A standard kettle works, but your pours will be less precise.
- Shared essentials: fresh beans, a burr grinder, and filtered water. These affect the cup more than the brewer does.
Paper filters are a recurring cost, small but real, and you will want the right shape for your dripper. Some people also keep a spare cone so they can brew two cups back to back without waiting for the first to finish dripping.
Effort and Technique
Neither method is hard. They ask for different kinds of attention.
A pour-over is a short, focused ritual. The standard sequence looks like this:
- Rinse the paper filter with hot water to remove papery taste and warm the cone, then discard the rinse water.
- Add medium-ground coffee, around 15 grams per 250 milliliters of water, and level the bed.
- Pour just enough water to saturate the grounds and wait 30 to 45 seconds while the bed settles and releases gas.
- Pour in slow spirals, keeping the water level steady, until you reach your total weight. Aim to finish pouring by around two minutes.
- Let the bed drain completely, which usually takes another minute or so. Total brew time lands near three minutes.
That is roughly four minutes of standing at the counter, paying attention. Pours that are too fast, too slow, or aimed at the filter wall will show up in the cup.
The French press is more forgiving of distraction. Add coarse grounds, pour in water just off the boil, stir once, and set a timer for four minutes. Press the plunger down slowly and steadily, then pour immediately. Leave it steeping for eight minutes because you answered the door and the cup will taste heavier and flatter, but it will still be drinkable. Press too fast and you will push fines into the brew and muddy it.
Cleanup and Daily Reality
Pour-over cleanup is quick: lift out the filter with the grounds inside, bin it or compost it, give the cone a rinse. Thirty seconds, no tools.
French press cleanup takes a bit more care. The grounds are loose, and they should not go down the drain in quantity, so tip them into the bin or compost first. Then disassemble the plunger, rinse the mesh and the filter plates, and wipe the carafe. The mesh collects oils over time, so a warm water rinse with a drop of mild soap every few days keeps it from turning rancid. Check the manufacturer's instructions before putting the carafe in a dishwasher.
There is also a rhythm question. A French press brews two or three cups in one go with no extra work, which suits slow mornings and shared breakfasts. A pour-over is naturally a one- or two-cup method; brewing for four people means either a larger dripper or two rounds at the counter.
Which One Should You Start With?
Choose the French press if you drink darker roasts, take milk, like a heavier cup, and want the least fuss for the most coffee. Choose a pour-over if you are exploring light roasts and single origins, enjoy tasting distinct flavors, and do not mind standing at the counter for four minutes.
If you are genuinely unsure, buy the cheaper of the two first and live with it for a month. Then brew the same coffee both ways at a friend's house or with a borrowed cone. Your own tongue settles this faster than any comparison chart.
Two tips apply whichever you pick. Weigh your coffee and water rather than scooping by eye, because consistent ratios fix more bad cups than expensive gear does. And buy beans with a roast date, not just a best-before date. A good brewer cannot rescue stale coffee, but either of these two will make fresh coffee taste like it was worth the effort.
Photo: pixel2013 / Pixabay